Case study: How Chris improved his articles’ conversion rate by +100% using 1 simple Trick
When it comes to making money online with affiliate marketing, there’s a clear funnel that most affiliate offers tend to follow:
- You send traffic to your own landing page.
- Some of the users who arrive at the page are interested in the product you promote, so they click on your affiliate link and get redirected to the advertiser’s site.
- Out of those who arrive at the advertiser’s site, a certain number decide to make a purchase and you get a commission for those sales.
Any improvement or growth you can make (no matter how big or small) to any of these 3 stages would impact your bottom line and practically make you more money. The more visitors you send to the landing page – the more people who will end up clicking on your affiliate link. The higher the advertiser’s conversion rate – the more sales you’ll get out of those clicks.
Now, stage number 1 (getting more traffic) is a big topic that has been discussed in this blog here and here. Stage number 3 is out of your control and is instead up to the advertiser to improve his internal numbers.
In this article, we will focus on stage number 2, and showcase how improving the conversion rate of your blog posts can be easily achieved and can help you get up to 50% more sales, with the same traffic as you had before.
The secret to increasing your conversion rate with Fiverr
My name is Chris, and I have been an affiliate marketer for over 10 years now. I own a fair number of blogs on various different niches, and believe it or not – I promote Fiverr on all of them.
I am in the firm belief that Fiverr is standing right next to Amazon as a universal affiliate program that ANYONE can promote. With the sheer number of services offered there, you can always find a niche product that will fit your audience’s needs.
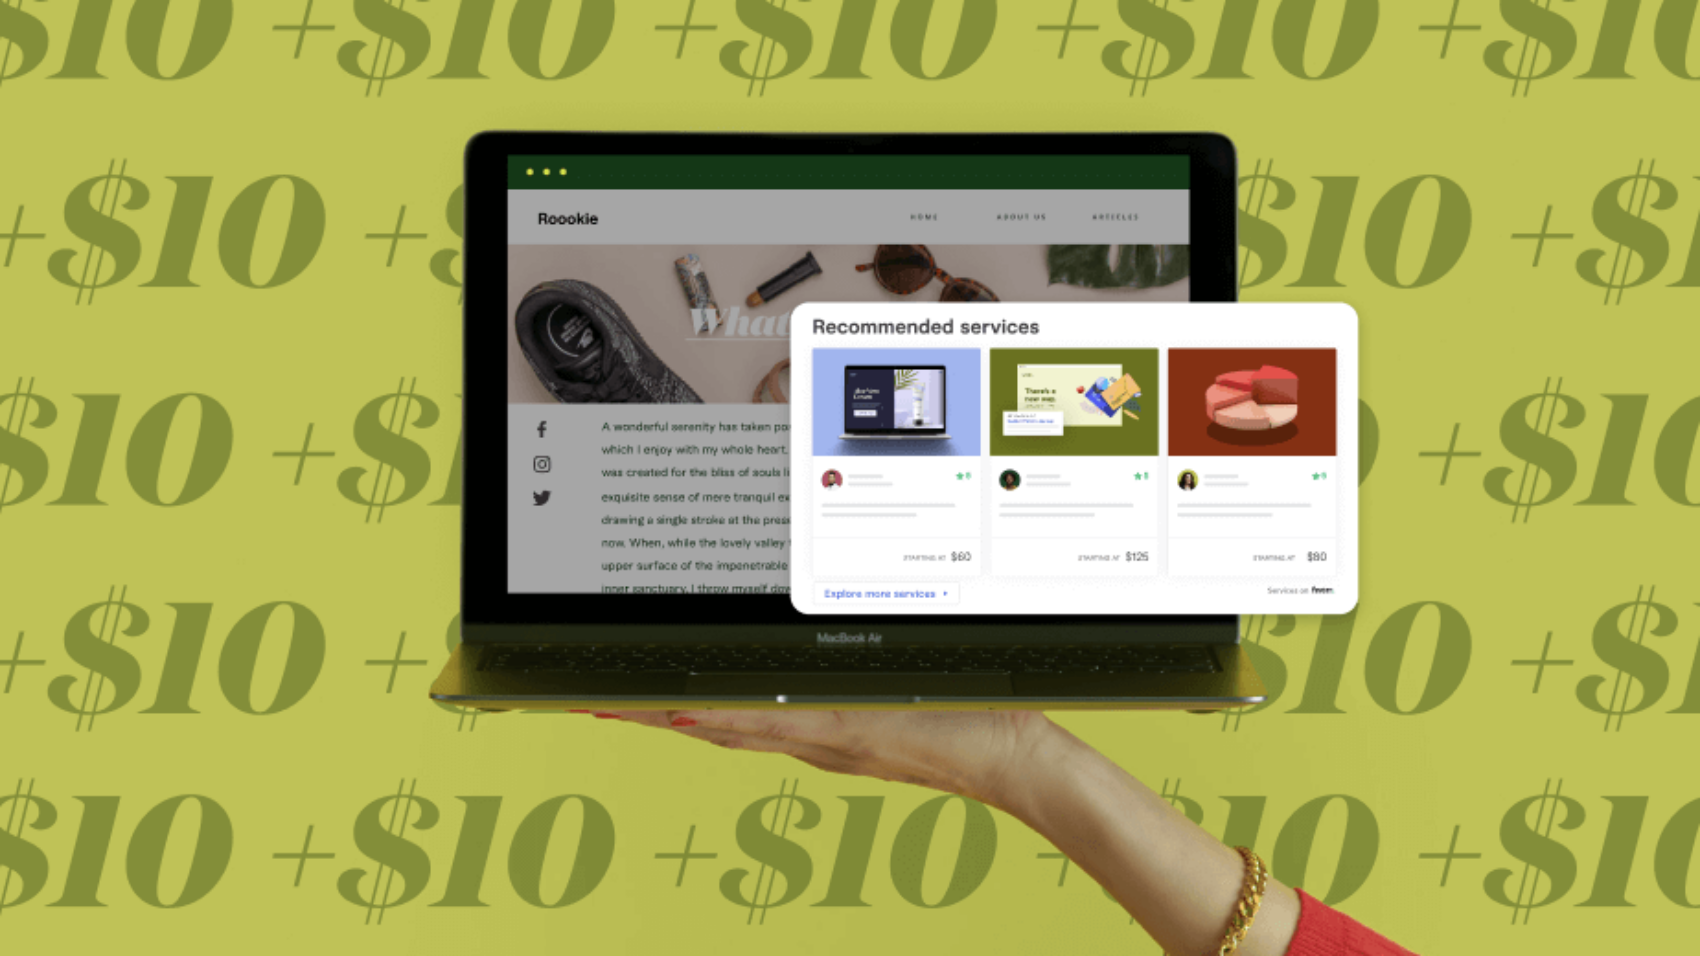
So, you can bet I was very excited when Fiverr announced their new Gig Ads widget. I create a lot of content, and I knew this widget was a golden opportunity to monetize my existing content.
“Fiverr’s Gig Ads widget is a brand new way to show off some fantastic Fiverr Gigs on your website. By embedding the widget, you can easily display some of the best-performing Gigs in the Fiverr universe.
Along with this, you have the power to choose which services you want to showcase in the widget. This level of customization can make it much more likely for your audience to click on the widget and purchase a Gig. For instance, if you publish a blog on dropshipping, you can choose to highlight Gigs in subcategories like Logo Design, WordPress, Articles & Blog Posts, and more.”
Up until now, if I wanted to showcase Fiverr in a certain section of my blog, I had to find a relevant gig myself, take a screenshot of its Fiverr page so I would have a nice image, and then usually add a big CTA button below it.
Now with the Gig Ads widget, this process becomes so much faster and easier. Not to mention that the end result is more attractive, completely embedded into my post and converts better than before.
How much better? Let’s dive into the numbers.
100% increase in conversion rates using the Gig Ads widget
I added the Gig Ads widget to all of my blogs about 2 months ago. Since then, I have tracked my results and compared them with the same previous time period without the widget.
Stats before implementing the widget:

Stats with the widget:

As you can clearly see, the widget helped me get more clicks (+170), more registrations and most importantly – more FTBs (First Time Buyers – aka affiliate sales) at roughly the same time period.
Keep in mind that the traffic to my blogs actually went down in the last 2 months, which makes those numbers even more impressive.
Granted, these results are not comprehensive enough yet. I expect the Fiverr Affiliates team to share with us more information on the performance of the widget in the future.
Regardless, what you should take from these numbers is that the Gig Ads widget can be an incredibly powerful tool in the right hands and there’s no harm in trying it out.
How can you use this tactic to get more sales yourself?
If you have any of the following:
- A blog post where you promote Fiverr.
- A landing page on your site that is relevant to Fiverr products.
- A resources page where you list useful sites and platforms for your readers.
then implementing the Gig Ads widget should be a no-brainer solution for you. It takes less than 5 minutes and it’s an easy way to increase your conversion rates without any additional effort from your side.
If you are still on the fence or plan to write content about Fiverr soon, then remember this advice and make sure to include the widget when you release the content. Don’t forget that up until September, Fiverr are paying an extra $10 bonus for any affiliate sale you send via the Gig Ads widget.
How do I add the Gig Ads widget to my blog posts?
To incorporate a Fiverr Gigs Widget into your site’s content, simply follow the instructions below:
- From your Fiverr Affiliate’s dashboard, go to “Marketing Tools”. Then, click on the “Gig Ads Widget” tab.

2. From there, you can customize your Gig carousel as per your needs. The preview on the right side will show the final result before publishing the widget on your website.

3. When you’re finished, click on the “Embed Code” button to copy the code and embed it on your website.
About the author – Chris Moore is an online entrepreneur and the founder of SMBillion.com. He’s been in the affiliate marketing world for over a decade now, helping online businesses and brands scale their growth organically.