The new Gig Ads widget- You choose the Gig you’d like to showcase on your website
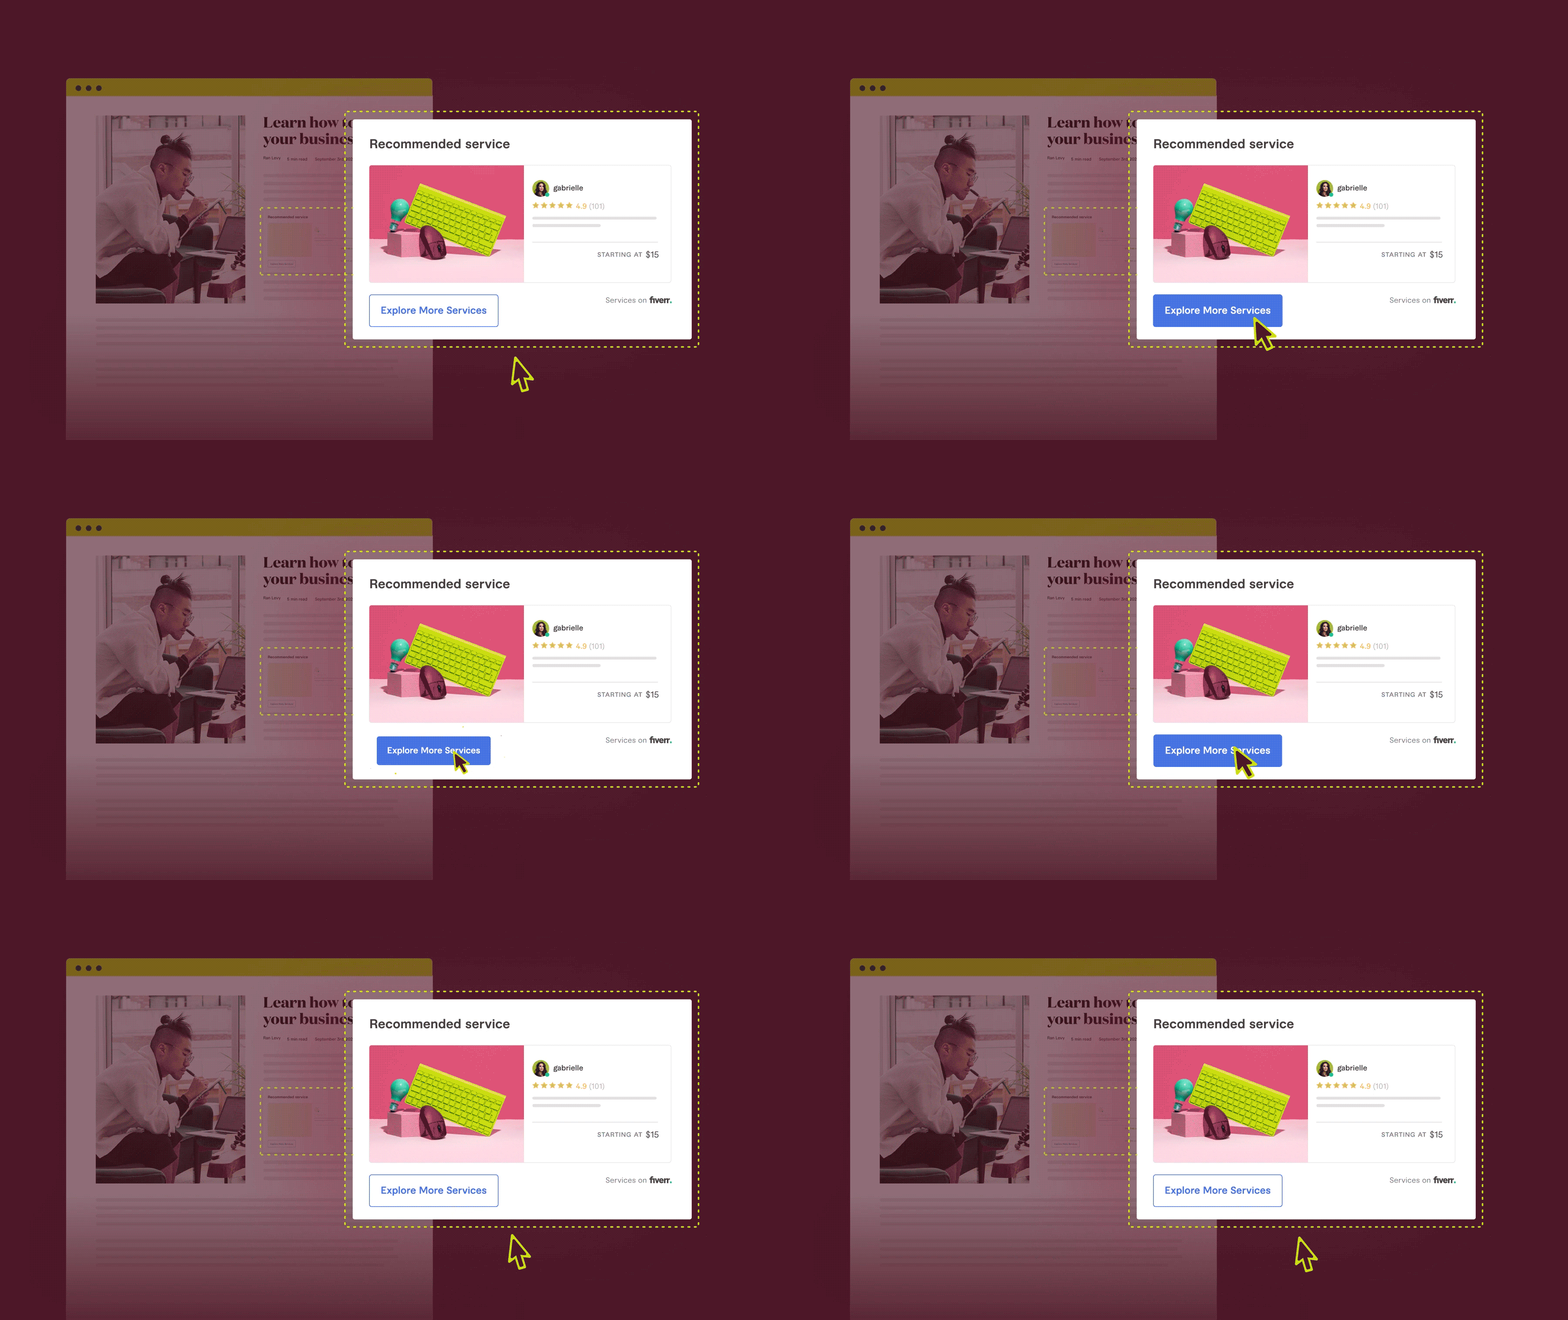
Fiverr Gig Ads widget is a way for affiliates to integrate Fiverr’s top-converting services (Gigs) right onto their websites. In a few clicks, affiliates can choose which services they want to showcase and then they can sit back, relax, and let Fiverr create a native widget with the top converting Gigs in that category.
This successful widget which has proven to increase conversion rates in 100% and is used by thousands of affiliates, is now expanding to allow affiliates to showcase a specific Gig of their choice.
Fiverr Gig Ads new features and functionalities:
The new version of the Fiverr Gig Ads contains an additional section to the builder “Pick a specific Gig”.
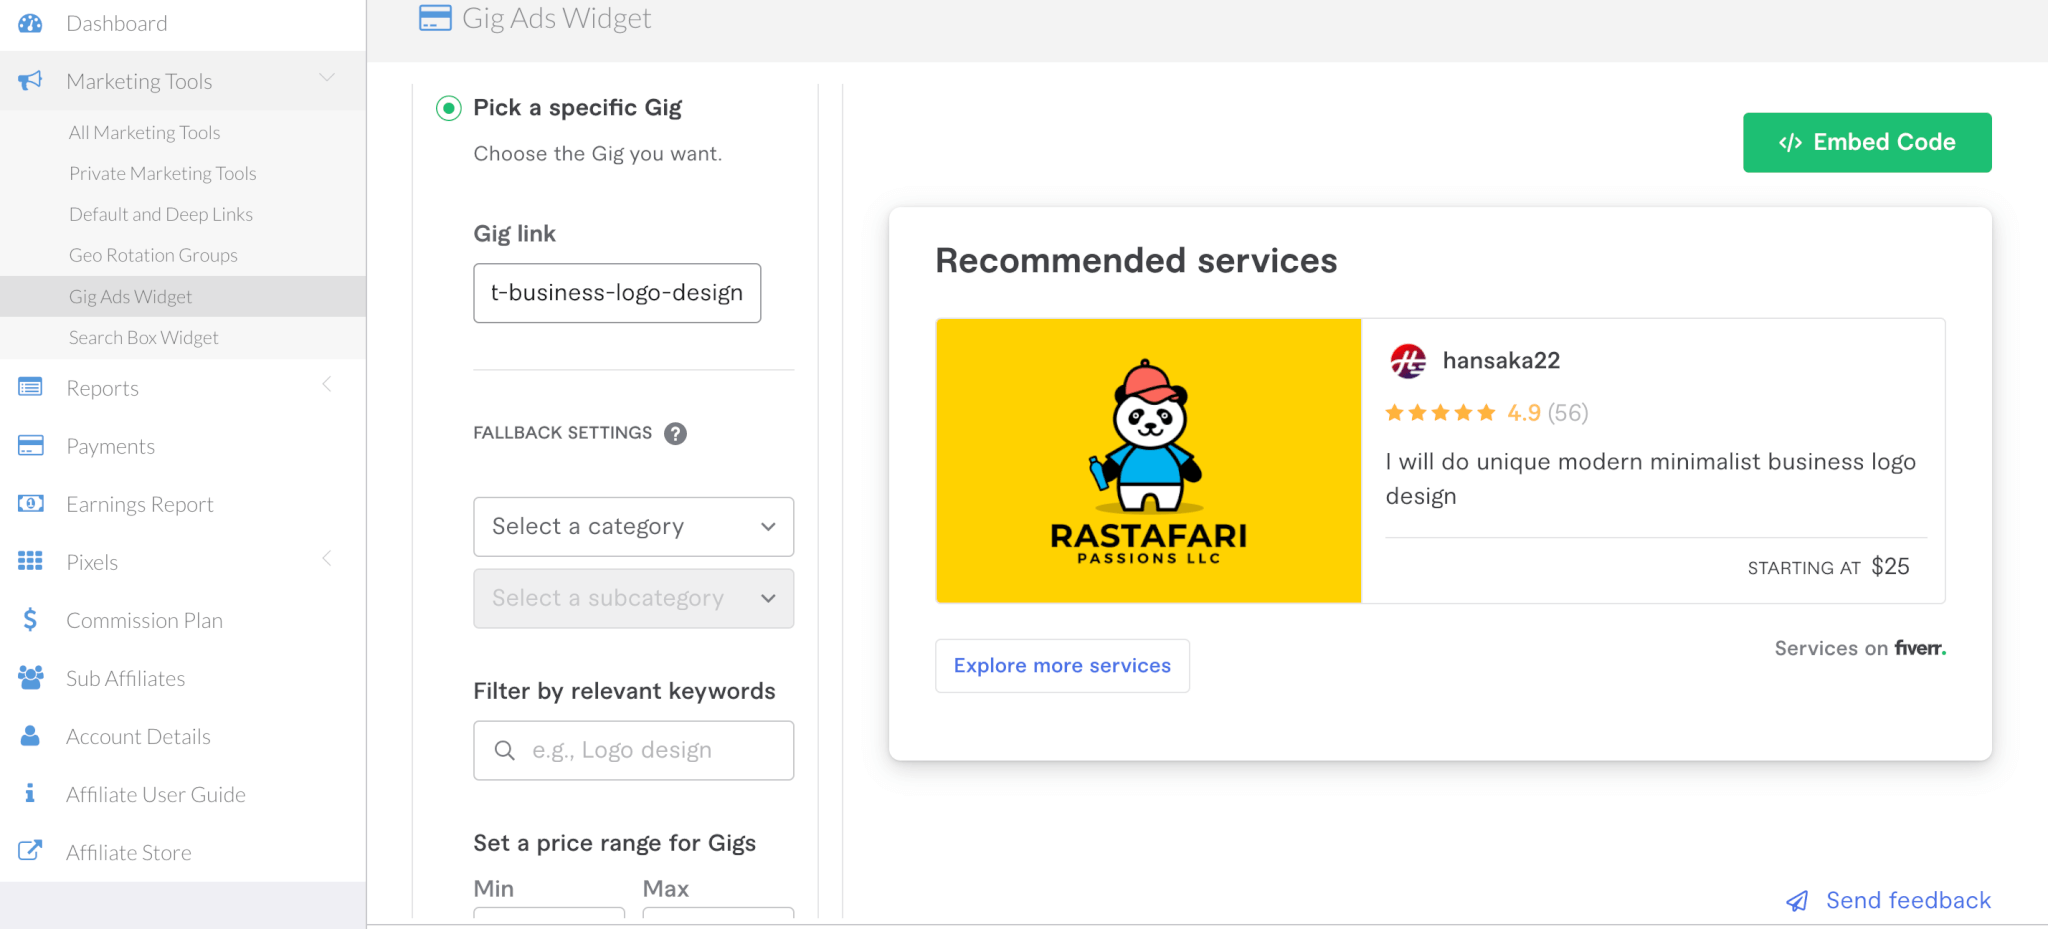
When clicking on it you are asked to provide the Gig URL (the actual URL of the Fiverr specific service you’d like to promote). For example: https://www.fiverr.com/hansaka22/do-unique-modern-minimalist-business-logo-design
You are also required to provide a “Fallback Setting” which will be relevant in cases where the Gig is no longer available (for any reason). It is important to provide the Vertical and the Category that’s relevant for the Gig you chose so we can make sure your widget features a service users can eventually purchase.
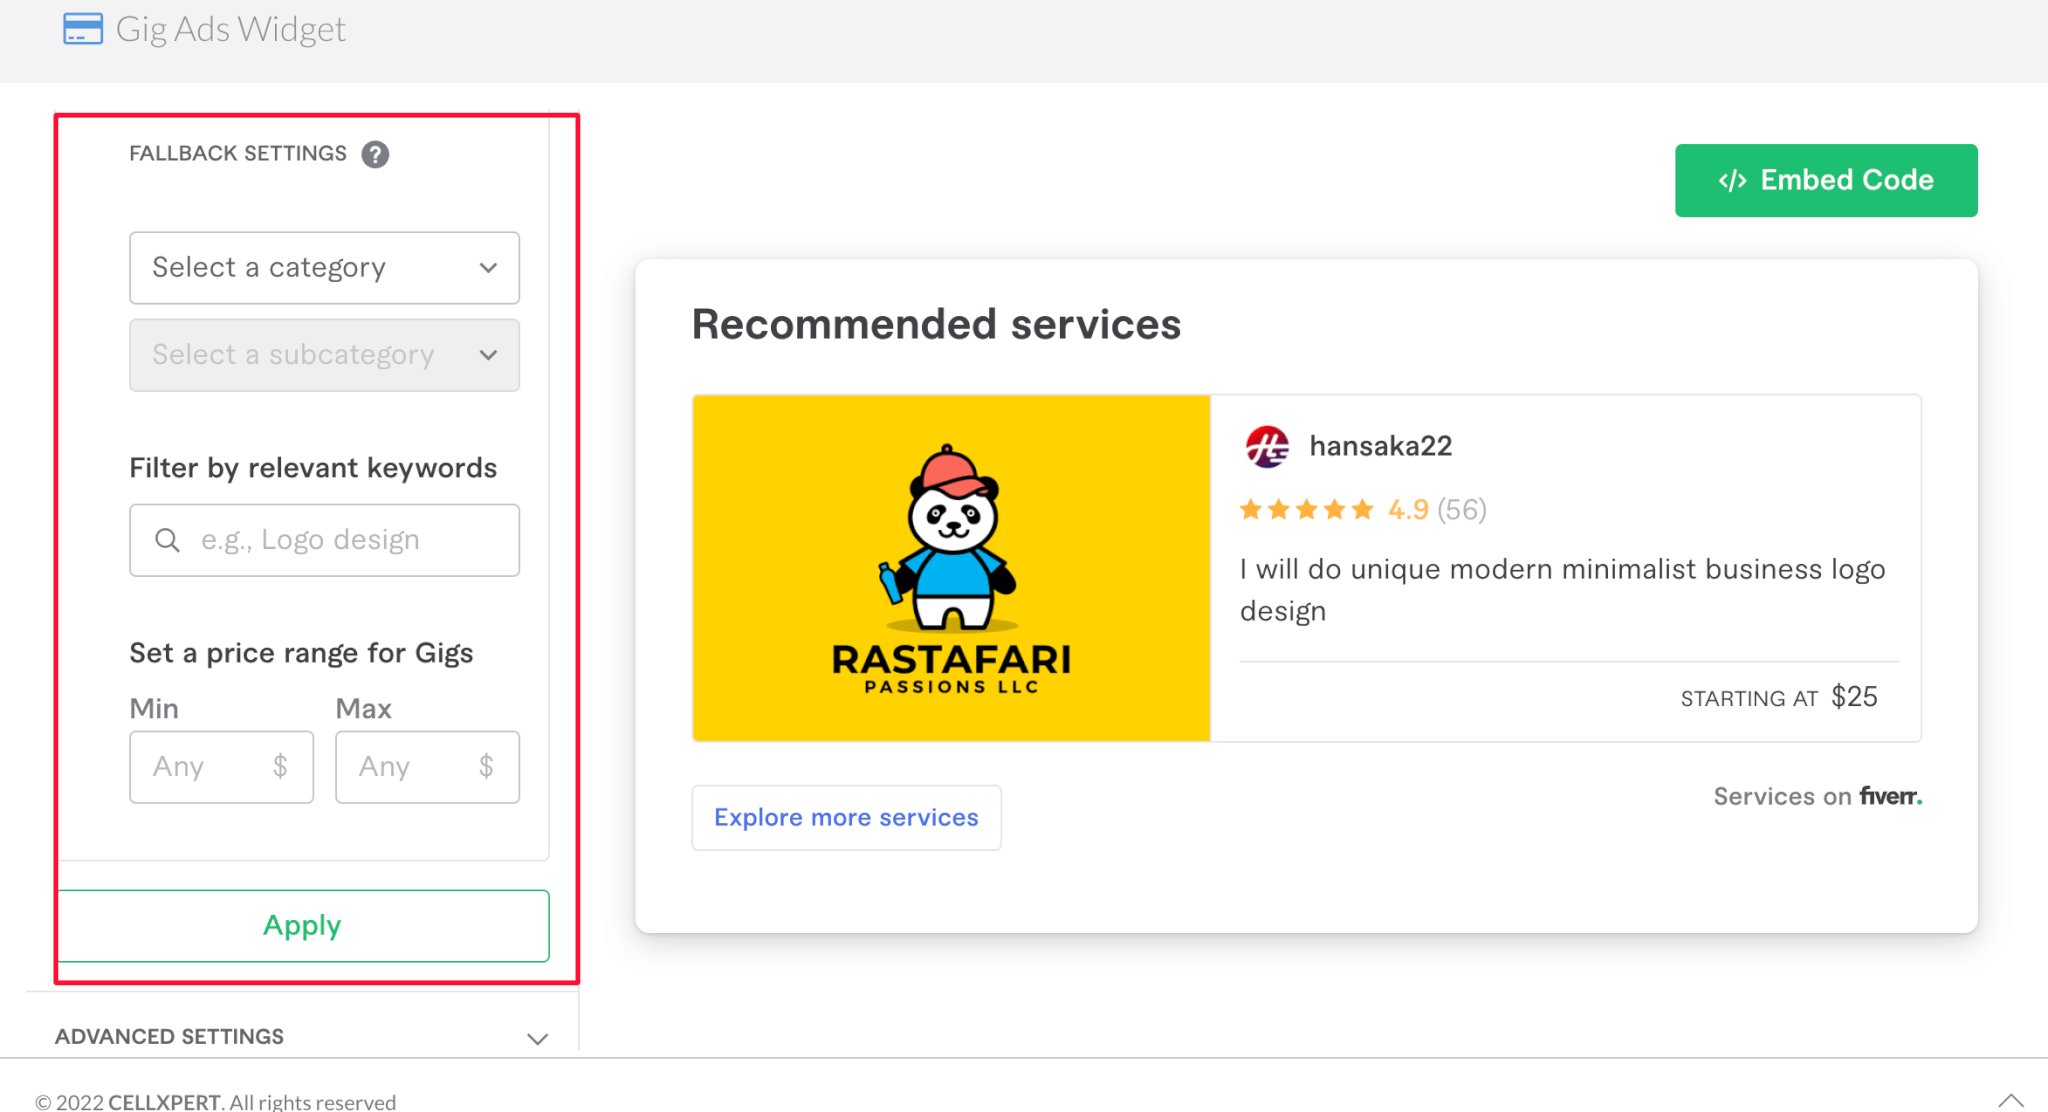
Other than that, you can still use the available functionalities:
- Live Preview: You can preview the Gig Ads widget in your admin panel on your affiliate dashboard before the widget goes live on your website.
- Edit the widget’s text – you can change the widget’s title and button text.
- Non-english websites – You can direct your users to the local Fiverr sites. Available in: German, French, Portuguese, Dutch, Italian, and Spanish.
The new version also includes speed improvements that will maintain your website’s speed.
Ways to Use Gig Ads
Let’s talk about where to implement Fiverr Gig Ads on your website. Some of the best places to include this widget are within blog posts (as part of your freelancing services recommendations for example) or at the end of your blog posts.
Just like we did here on this blog post:

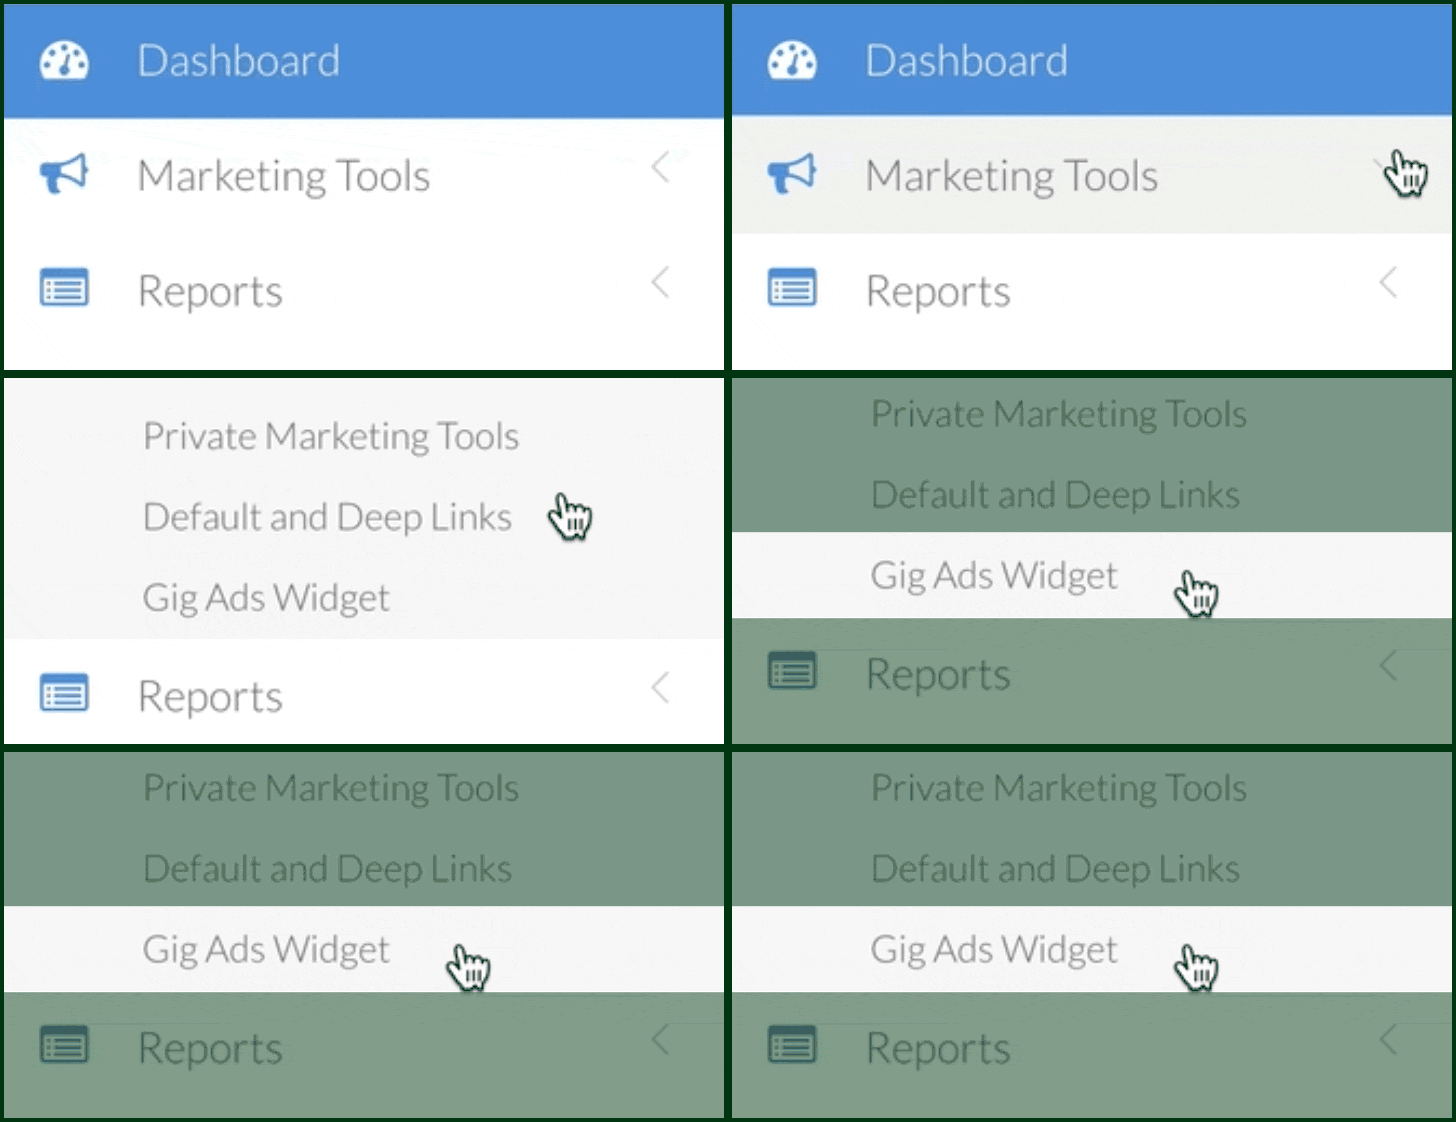
- From your Fiverr Affiliate’s dashboard, go to “Marketing Tools.” Then, click on the “Gig Ads Widget” tab.
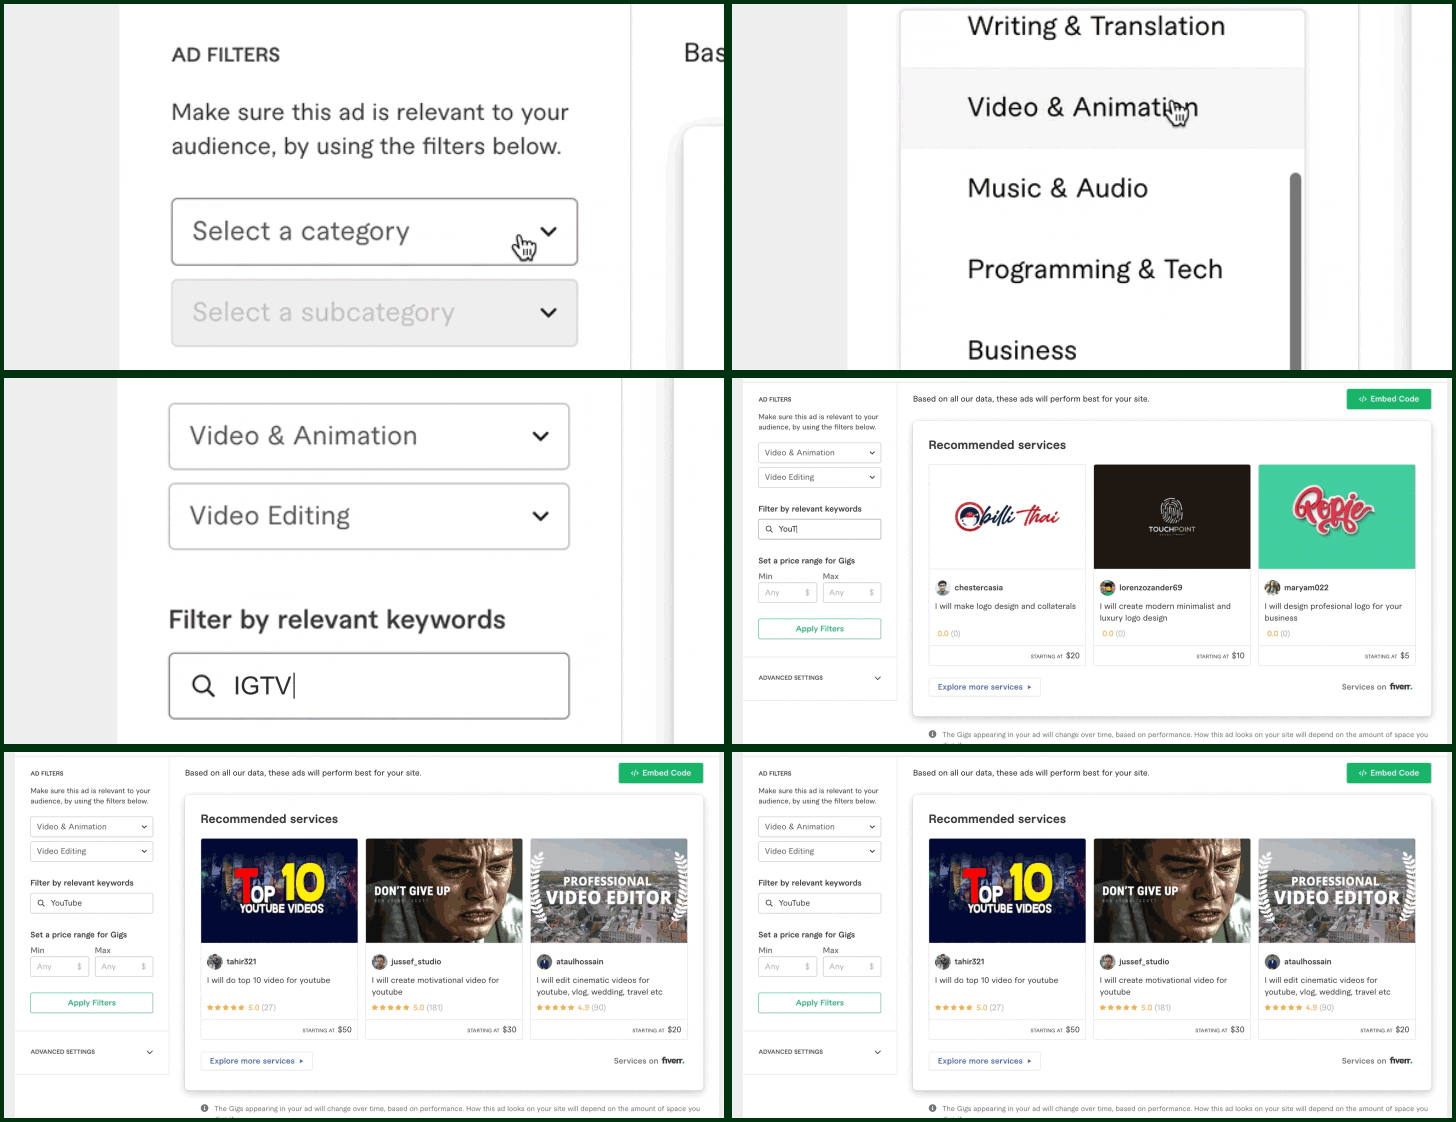
- From there, you can customize your Gig carousel as per your needs. The preview on the right side will show the final result before publishing the widget on your website.
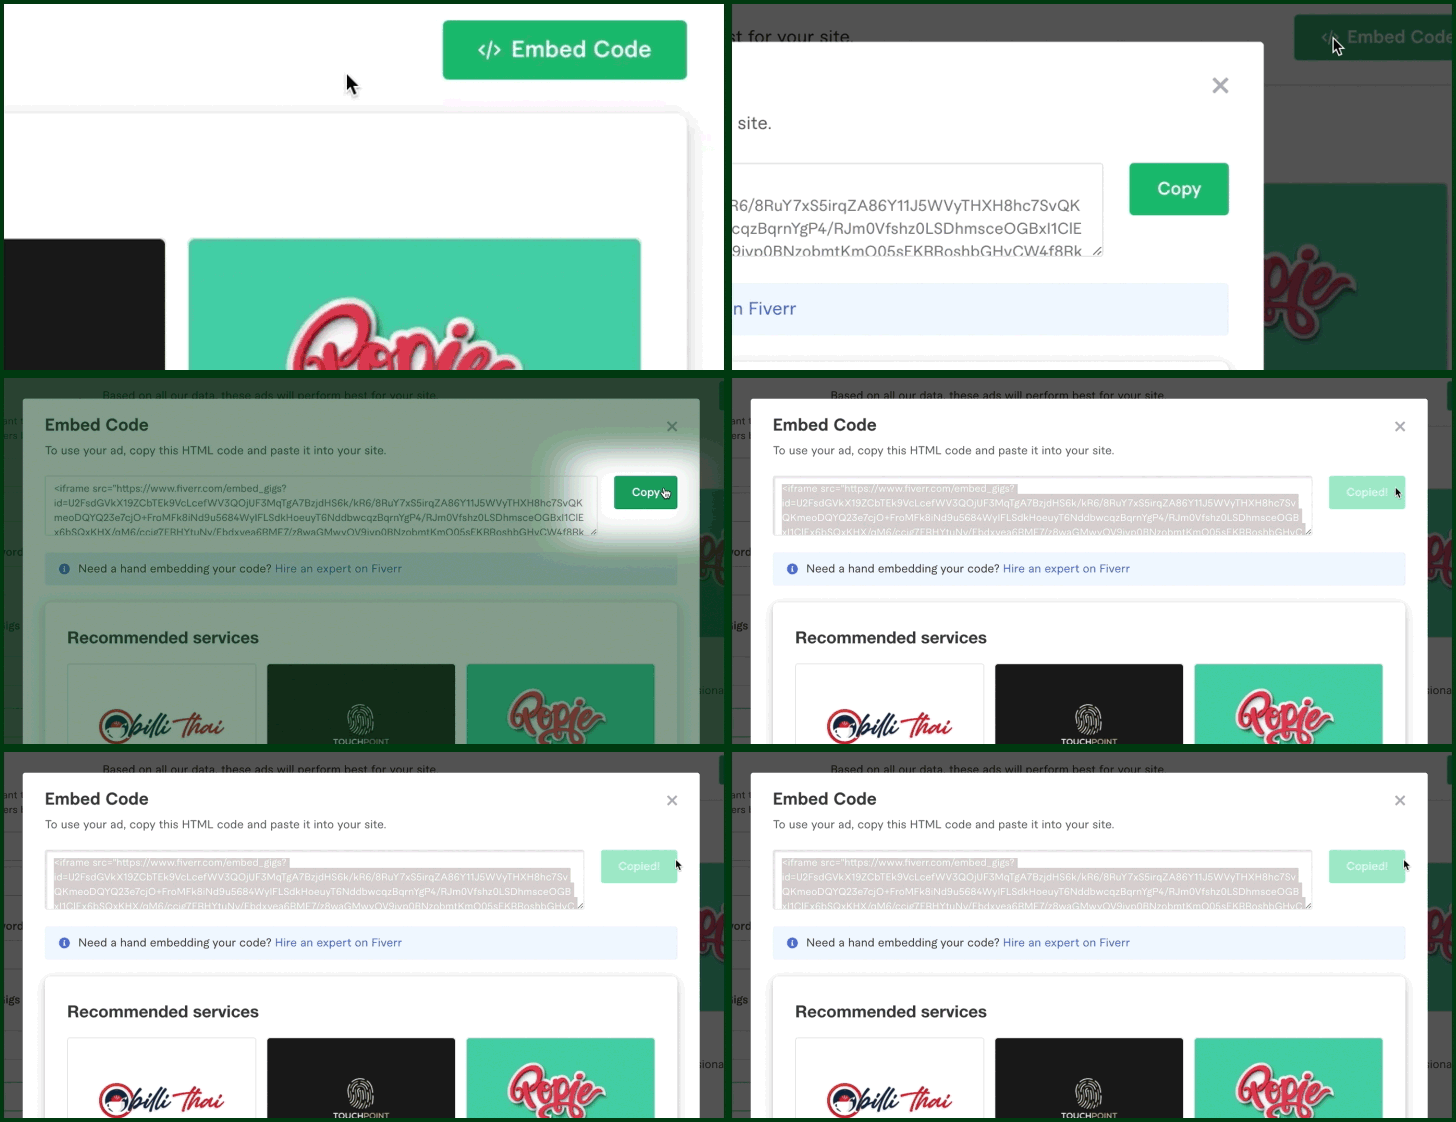
- When you’re finished, click on the “Embed Code” button to copy the code and embed it on your website. You don’t need to know any JavaScript or have any coding knowledge in order to use this widget. Fiverr Gig Ads comes with a standard iFrame that is easy and convenient to implement on your website.
General Installation Instructions
- Do not insert the widget code inside an iFrame.
- Do not modify the widget code. We cannot guarantee that the widget will work properly if modified.
- Do not add any additional styles to the widget code. The widget is responsive and will adjust to the parent container.
Read our Installation Guide to learn more about how to embed the widget successfully on your website
Tracking Performance
As for tracking performance, you can easily do so from your affiliate dashboard. It involves these steps:
- Log in to your affiliate dashboard.
- Go to “Reports” and click “Media Report”.
- Select your desired date range.
- Click “Filter By” and select the “Creative Name” parameter and type “gig_ads”.
- Click “Run Report.”
Now you can see the widget’s performance and how many sales were generated from the widget.
Pretty cool, right?
Get Started Today
Check out the new Fiverr Gig Ads widget so you can start generating more affiliate sales! Feel free to reach out if you have any questions. If you aren’t a Fiverr Affiliate, don’t waste another minute and sign up now!